I've been planning this building for well over a year and started construction last
August! Finally I can say its done! It started off as 4 old, used built models, and 4 new-in-box models:
I detailed my early dis-assembly and cutting of the original kits in my
first post on this building last August, so we'll skip ahead now to where I am creating the new building structure with styrene strips. I've always really liked the looks of this building, but the shortness of the floors compared to my other buildings really bothered me, and was a reason I never intended to use any of the original structures on my layout. The styrene would replace the 'blue' building sections and those sections would be about twice the height of the original building. I used my handy 'chopper' tool from Northwest Short Line to get precise cuts of each piece of styrene. Wow, does this tool ever come in handy for these kind of projects!
The below photo shows the dramatic increase in the height of each floor when you compare the 'old and new' next to each other!
I had some difficulty trying to determine what the best colors would be for this building. Even if I wanted to maintain the white window frames, the old plastic had yellowed quite a bit, and plastic always looks better with a coat of paint! Below was both my 'jig' to hold two sections of windows together to create a the double-length windows. This was probably the hardest part...trying to glue the tips of the frames to another section proved somewhat frustrating, and did not always turn out well.
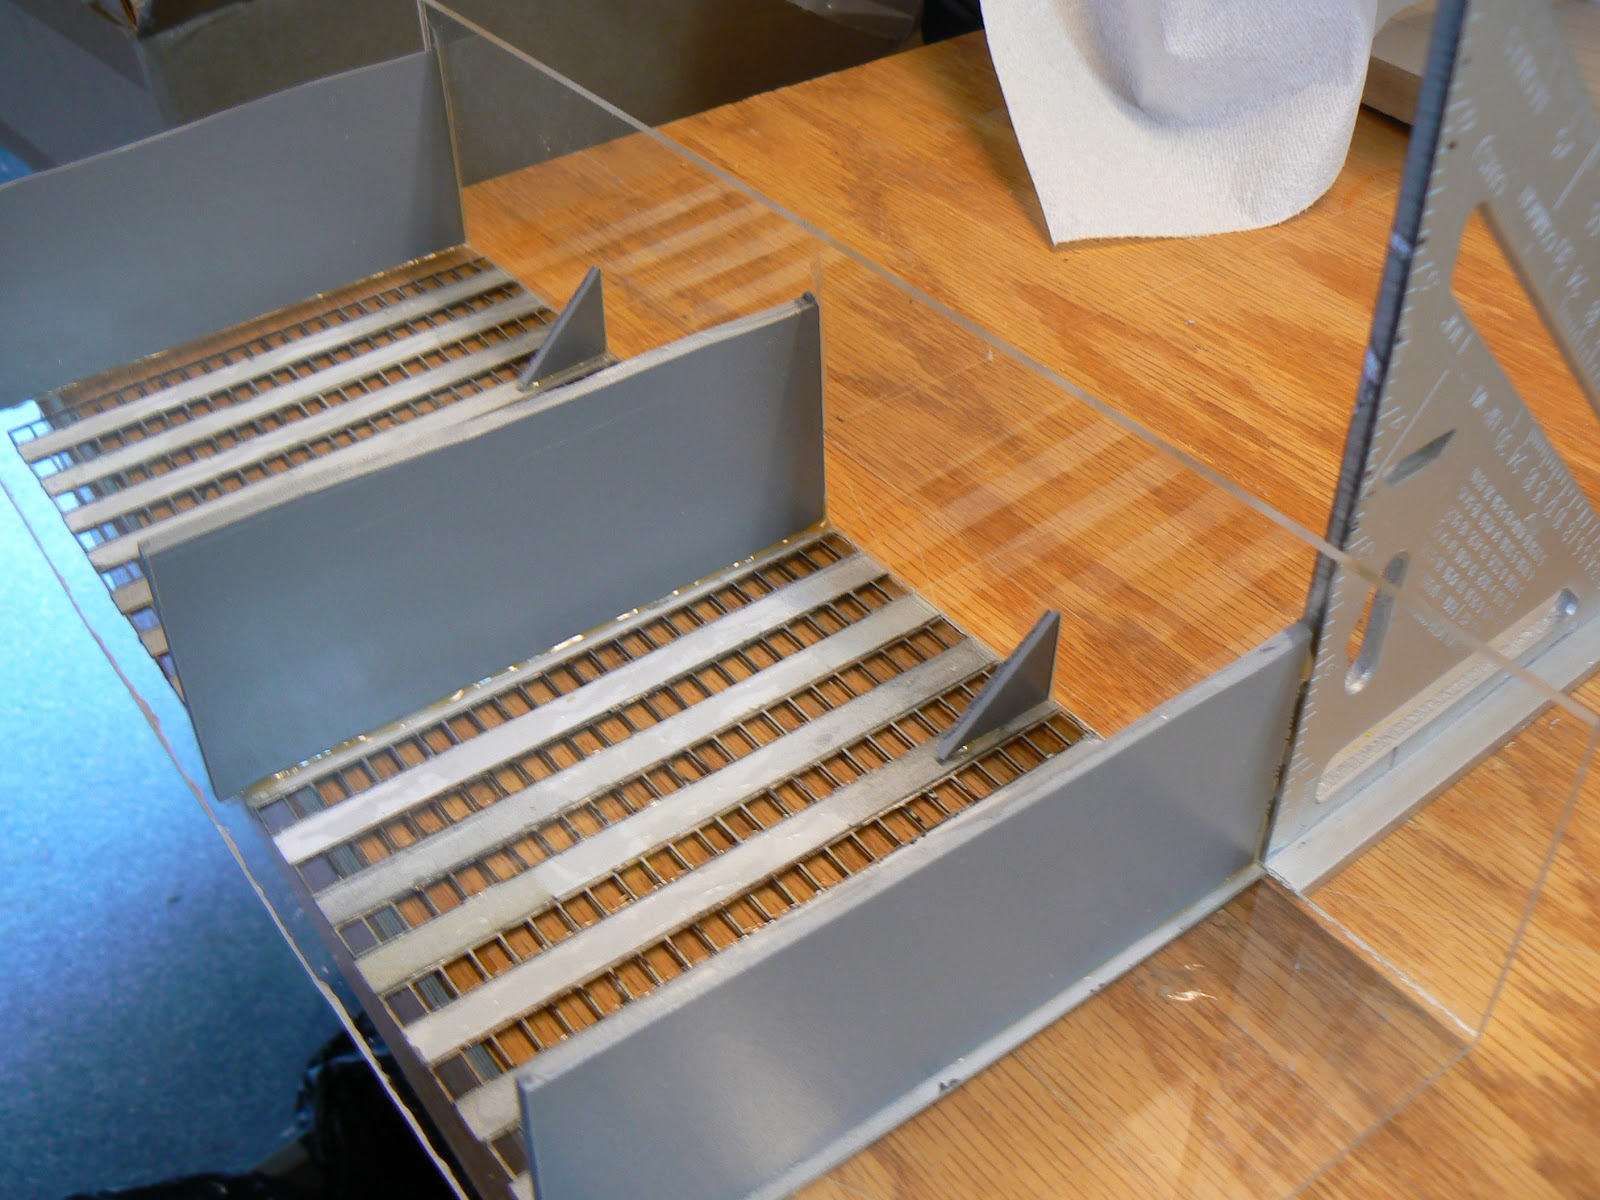
The cut and assembled styrene and the window frames were glued to sheets of clear acrylic, which would be my base for the model. The square was used to ensure that each layer was square while I was gluing these onto the acrylic.
With the face of the building complete, it was time to add one of the side walls. You can see the building starting to take some shape in the below photo.
Again using a square and as carefully as possible, I was able to attach the windows and building exterior to the new side wall. At this point I still wasn't' quite sure what to do for the ground floor, or the top, but I had several ideas....
Once all the windows were in place windows that would remain transparent were covered with tape, while the rest of the interior of the building would get at least one coat of black spray paint to stop any light leakage -
except from the appropriate windows.
After the paint has dried and the tape is removed, you get something that looks a bit like this (on the inside surface)!
I had decided to do a kit-bash of the ground floor of the Tomix high-rise for the ground floor of this building. I like the columns and the recessed glass entrance. Using my razor saw (a new tool that is really quite awesome for these sort of things), I was able to get something that was about what I wanted.
The final version turned out quite well I think. A few signs or posters on the columns would add a nice bit of detail. The columns were painted blue...partly out of homage to the original blue and white Faller 2293 kit.
What always takes considerable amounts of time is the planning, preparation, and installation of interior details. As this building is planned to be in the foreground area (and therefore highly visible), the interiors needed some detail. About half of the interior floors were salvaged from an
older building project.
The other half of the floors were detailed using primarily the 'office furniture' materials from
Luetke Modelbahn. Difficult to make out in the small photo below, but if you click on it you will get a larger version.
A close up of one of the floors and the interior:
In total, I ended up with twenty stories....one of my larger buildings! The logos on the top of the building are from the original Faller kit. Again, in homage to the original, I wanted to try and capture some of the elements from the original kit in a subtle manner.
Overall building exterior color selection was the most agonizing part of this project. I wasn't inclined to paint the whole building 'blue and white' like the original, but I was also tempted to try and give the building a color scheme a little more different from my other buildings. Ultimately, I went conservative and used Model Masters "Camouflage Grey" for the main color, with dark bronze metallic spray paint for the window frames.


As always, your attention to interior details amazes me. Nice work!
ReplyDeleteNice results. As previously said, adding such details to interiors is a step ahead compare to "regular" creations.
ReplyDeleteI think the lights appear to be brigther on the pictures (especially with numeric cameras) than they are in reality. But did you try to decrease intensity?
Good work!
Patrick
@Don - Thank you sir! Its always a lot of work, but worth it in the end!
ReplyDelete@Patrick - Your right, cameras have difficulty with light although to the naked eye the intensity seems fine. I did adjust some of my camera settings for some photos so that the light didn't completely wash out the photo!
Your work is simply AMAZING !!!!
ReplyDeleteI really like how you have shared the steps. Now I just have to try it myself.
ReplyDeleteBob Pierce
BT Trains
stores.ebay.com/bt-trains
WOW...u hv a great blog and awesome work too bro:)) those model building looks wonderful^^
ReplyDelete