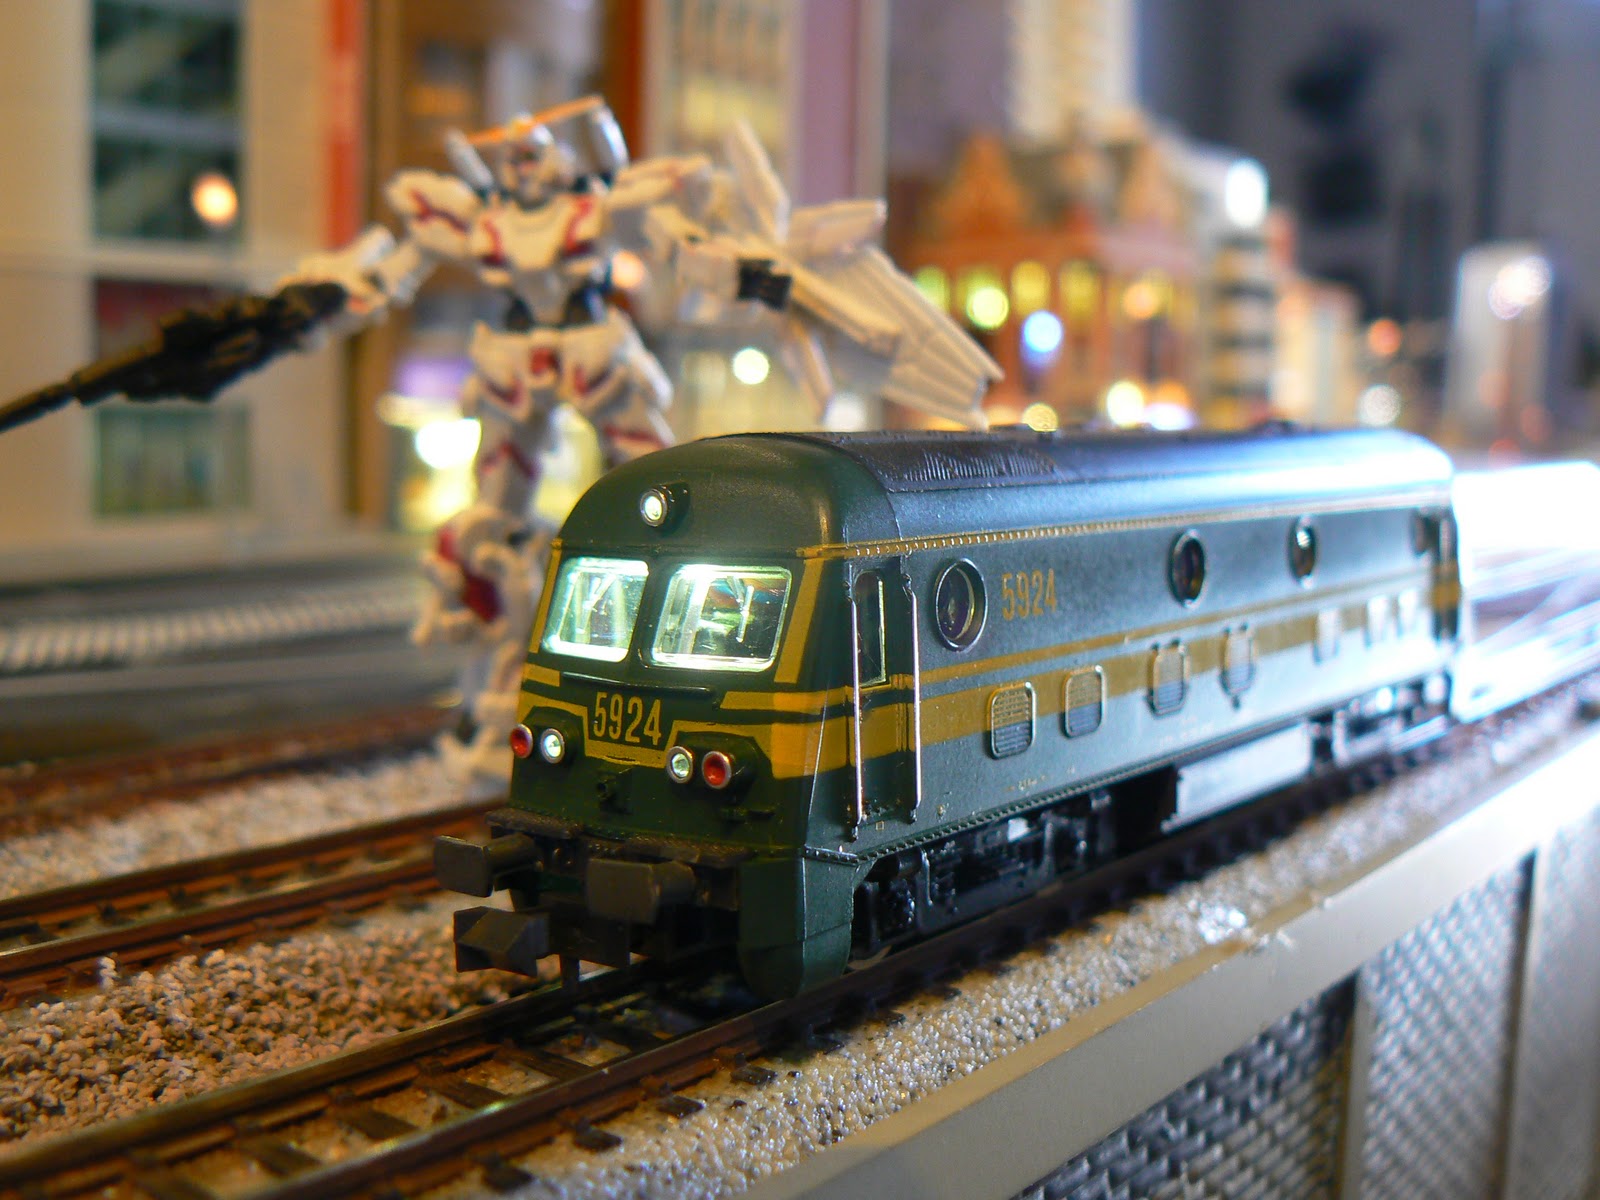
I picked up this older Roco model last Summer after my trip to Europe. I liked the rarity of this model as it pertains to European N Scale, and I also like the fact that Belgium now gets a little representation on the layout! This Roco model of the Series 59 from the SNCB / NMBS also has more interesting history as the prime mover of the original locomotive was a Baldwin 608A, which makes it a distant cousin of the famous
Baldwin RF-16 "Sharknose" diesels!
My personal challenge with this locomotive was converting it to DCC. So it sat in its box for the past 6 months or so while I went back and forth on my potential ability to install a decoder, and worked on the layout. Having successfully installed a decoder into my new Kato Sunrise Express motor car (
great post on the JNS Forum for this) yesterday, I was feeling confident enough to take a crack at this locomotive. I tried several searches to see if there were any recorded experiences of this engine's conversion to DCC on the internet (in any language!), but I couldn't find any, so I knew I was on my own!
First, I'm starting to get a LOT more comfortable with the basics of decoder installation. Essentially the
main thing with a decoder install is that you need to install the decoder between the rail pickups and the motors (and ensure the ONLY contact between the motor and the electrical pickups is through the decoder wires!). Everything else is just details.
With that in mind, I studied the locomotive for awhile to get a sense for how I could try and accomplish a decoder install on this engine. The most noticeably thing about the motor and interior is there is a circuit board with four wire leads which, by examining, I determined were all power supply from the rails. Knowing that these are my electrical pickup leads from the rails, I looked for the contact between these and the motor. Ah hah! Two brass strips extend down from the decoder to two prongs which come out of the closed motor casing. All the other circuitry on the circuit board appeared to me to be for enabling the light bulbs.

With my basic rule in mind about decoder installation - and with the intention to replace the existing bulbs with LED's wired to the decoder - I felt confident enough about cutting the wires and removing the old circuit board. I also cut a strip of styrene to replace the circuit board and to provide a platform for attaching the decoder and securing the wiring.
My first step for installing the decoder was to cut the orange and gray leads from the Digitrax DZ125 I was using (cheap, although not the most reliable) tin the ends, and then solder to the to motor prongs. This was an easy step as the 'prongs' are easy to access and with both the prongs and ends of the wires tinned, putting a small amount of heat to the prongs was enough to make a good contact.
Next I soldered the black and red wires to both of the supply lead wires I cut from the circuit board. The black wire from the decoder was soldered to the the two 'supply' leads (from the bogies/trucks) on the same side as I attached the gray wire to the motor. The same was done with the red wire and the two supply leads on the side of the motor where I soldered the orange wire to the motor prong.

The moment of truth....I put the engine on the programming track to see if my approach was correct...and Wallah! It worked! With the knowledge that I had all the wires in the right places and a correctly functioning installation, I then proceeded to add LED's for each side of the engine. The LED's needed 680 ohm resistors on the white and yellow wires coming from the decoder, so these resistors were added. Again, another test to see if the LED's were attached correctly...more success! Then the process of applying "liquid electrical tape" to all the metal connections, and double sided tape to secure the decoder to the plastic strip, and kapton tape to keep everything in its place.
The real moment of truth...putting it on the layout and attempting to address it and check to see that all of the functions work as they are supposed to....SUCCESS!
This was a great achievement for me. While it wasn't my first hard-wired decoder install, it was the first one where there was no information for this model available to guide me through the steps (and to reassure me that the steps I were taking would work!). Hopefully this post will help to either be an encouragement to other 'non-electrical' folks like myself, or some specific help to guide you through a similar loco conversion!


Thanks again for sharing these things. I am so wary of trying to figure out how to jam decoders into my old engines, that I am pretty much accepting the fact that my old Metroliners and RDC's will become "yard dummies" once the layout is completely dcc.
ReplyDelete@nittany4 - Thanks Nittany! I have some of the same fears about older locomotives. Fortunately, this one turned out to be really easy. There are some older locomotives, as you're probably aware, that are a lot more challenging. For me, I try to make it simple....how to seperate the track feed to the motor to get the decoder in the middle (and make sure that there is no other contact between the two points other than through the decoder). I think this simple understanding has helped me to feel a lot more comfortable with the idea of converting older locomotives! Of course, this was an 'easy' one...let's see how my 'plan' works on some others!
ReplyDeleteI just checked on belrail.be, and this type is no longer in service. I do see Belgian diesel types 55,62, 63,77,78 in the big yard near my place(on the north side of Brussels).
ReplyDeleteIf you ever want to do trainspotting in Belgium, you have to be there. Whenever you're around just contact me and i will be glad to help you spot for an afternoon.
I do admire your work.
and when I can spare the time and the money, I will start building a huge modular N layout(modular because I plan on storing it on supports drilled into a 2x3 empty wall I have in my room , I'm a little short of space in the horizontal way). I will be glad to share my progress on a blog once I start executing these plans.
Have a nice modeling journey,
Greetings from Brussels.
Hi Bresseleir! First, I have to thank you for your kind offer to show me around the rail years near Brussels! I haven't been back to Brussels since 2005 and would love to go back! If I ever make it, I will let you know!
ReplyDeletePlease let me know how your modular layout progresses!
I just started university this year, so the layout will have to wait till july. Thanks for your kind reply and have a nice afternoon there!
ReplyDelete